Today, was dance class day. However, I was out of town. So I spent the night making jam and dancing around my friends parents kitchen. My best friend and I decided we were going to make Cranberry Pear jam because we needed a distraction and what is a better distraction than jam?

 First however, I would like to point out that when making jam the ingredient Pectin is usually used in making jam, but it isn't present in this recipe. Pectin is found naturally in fruits you commonly cook down to make jam, such as apples and berries. It is used as thickening agent and gives jams and marmalade that "jelly like" texture.
The first thing we did was we went out and bought fresh cranberries and pears. We washed and pealed 14 pears then cored and sliced them into small and medium dice. We kept the dice thicker because we wanted a chunkier jam. We then washed the cranberries, but chose to keep them whole. You can choose to do a rough chop or put them in the food processor, but cranberries do break down rather easily.
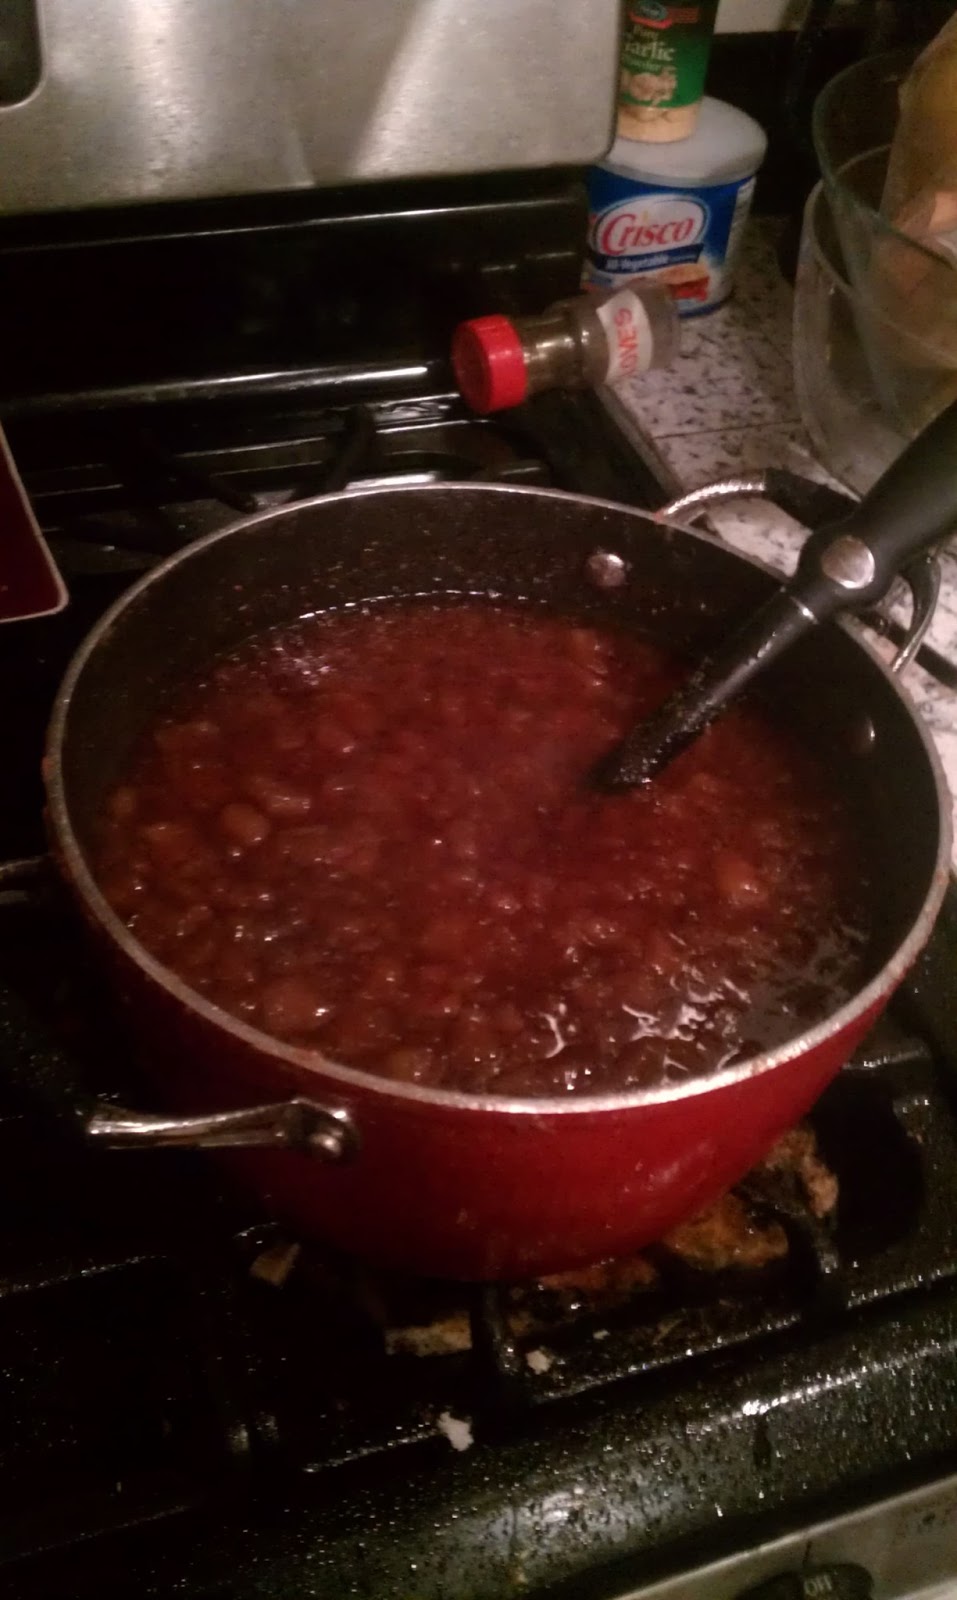
We then added the pears, cranberries, cinnamon and sugar into the pot like and let it simmer over medium heat until the cranberries began to break down this took about 30 minutes for us. We also added a little lemon juice and a dash of salt to bring out the flavors. After the cranberries broke down we then reduced it to low medium heat and let it simmer covered for 2 hours like in the recipe. We stirred it occasionally to make sure the fruits all broke down evenly.
 During the two hours of just waiting we had sanitized our half pint jars in hot boiling water and let them air dry and cool. It is also necessary to do the same thing with the lids of the jam. Then we carefully spooned our finished jam into the jars. When filling the jars with the product during canning you really need to make sure to avoid getting it on the lips of the cans otherwise they may not seal properly. I had never canned anything before in my life so I found this to be a very helpful tip because I would have been so annoyed if I wasn't careful and then couldn't figure out why the jars weren't sealing properly. We filled each jar 3/4's of the way up and made sure the lip of the jars were clean and put the lids on the jars. After this we boiled the jars in hot water that reaches just below where the lid starts until the lid seals. You will know when the lid seals because it will dent in like the lids on jams at the grocery store.
 This process can take a little bit longer than expected. At first my friend didn't think they were going to all seal then with a little patience they all eventually did. However, like I have mentioned before make sure to have a clean lip before you put the lids on. The finished project is super delicious and can last for quite a while. We made them for or friends and families and from what we heard the jam was amazing!
Yummy! Can you share your recipe?
ReplyDelete